Groups & Publishing Guide
This page will detail about managing your groups and how to start publishing your sofware
Groups Management
Groups Sign In and Registration
Click the Groups button on the top bar and it should show the Group-Flow landing page like below
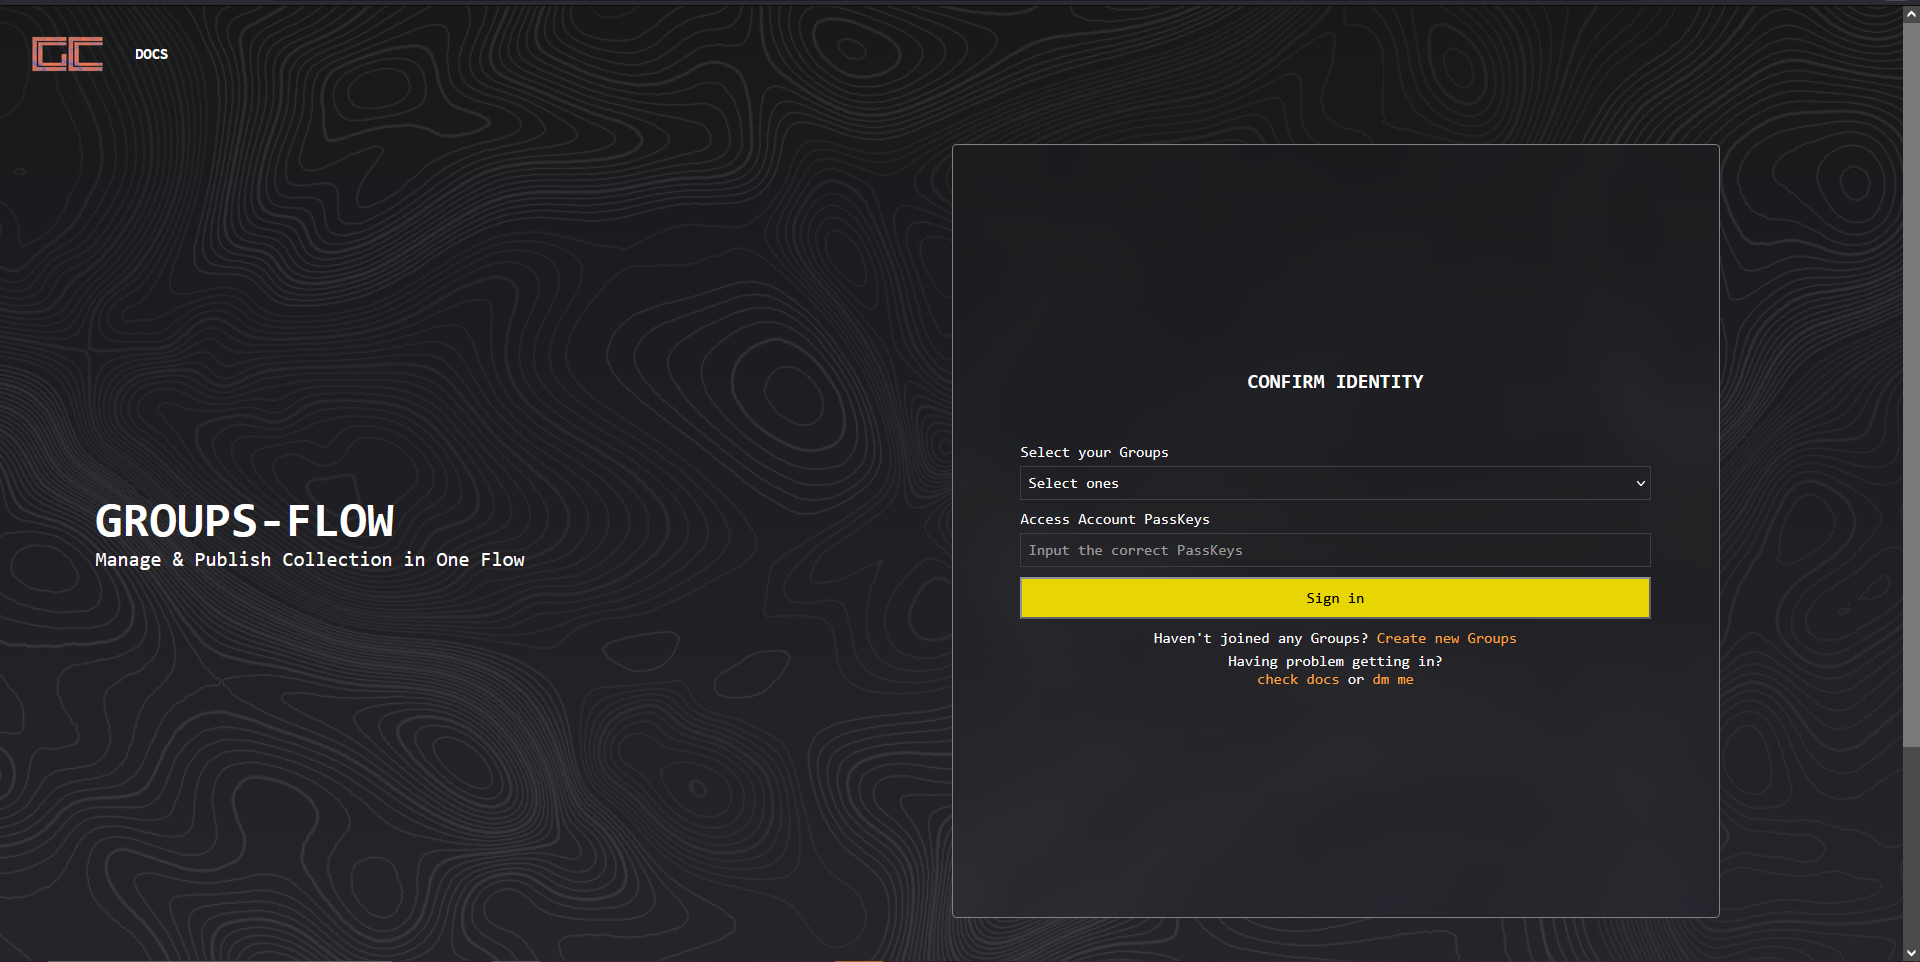
if you already have created/joined groups and have an active access account to, click on the option input then select the groups you want to sign into and fill the password you'd set for your access account. it is required to logged in the main account before you can accessing the Groups-Flow as the Groups-Flow will use your logged in main account username for verifying your access account.
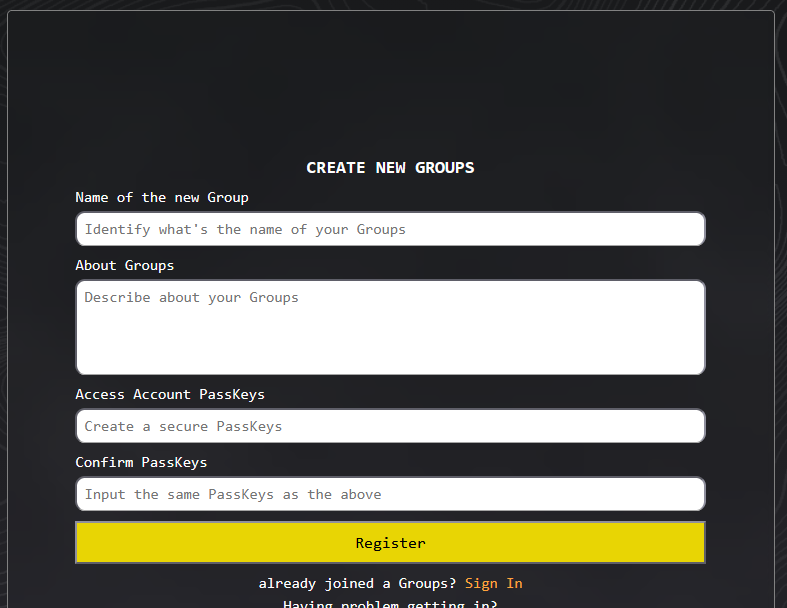
If you haven't created or joined groups, you can click on "Create new Groups" below the "Sign In" button and the page will open the registration form
Populate necessary registration details fields including name of the groups, description of the groups, and your founder account passkeys are for your account access so make sure to not forget it.
Access Account Authority
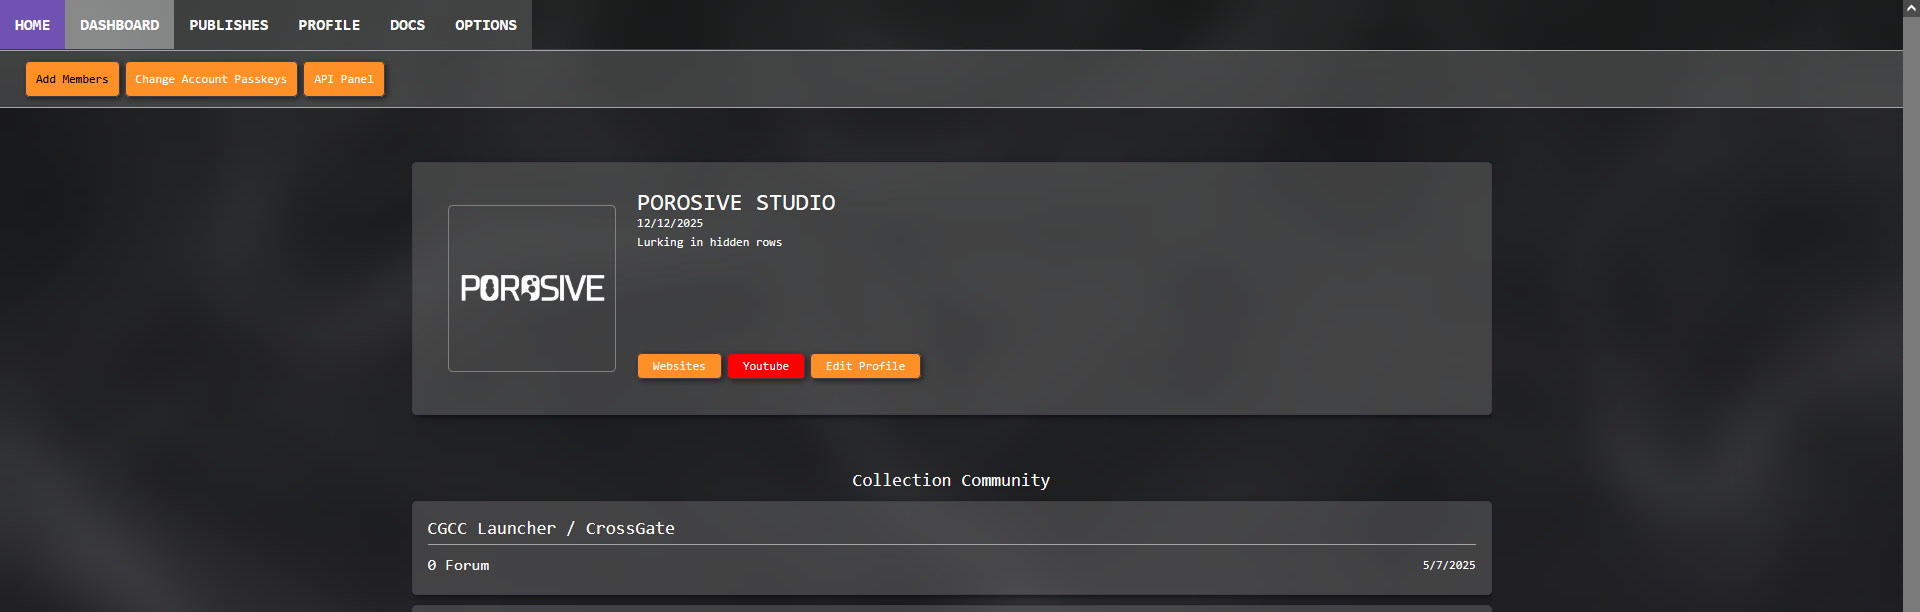
Each access account has their "role" attribute which tell the Groups-Flow component they get access based on it with the "Founder" role granting access to all of component because the role only given to the creator of the Groups
Administrator and Developer have their unique access to some of the groups changing feature.
Administrator access allowed to make announcement post and moderating announcement topic.
Developer granted access to nearly all publishing features, from creating new collection, editing detail to file management
.
Publishing
Access the Publishing hub by clicking "Publish" button on the navigation bar.
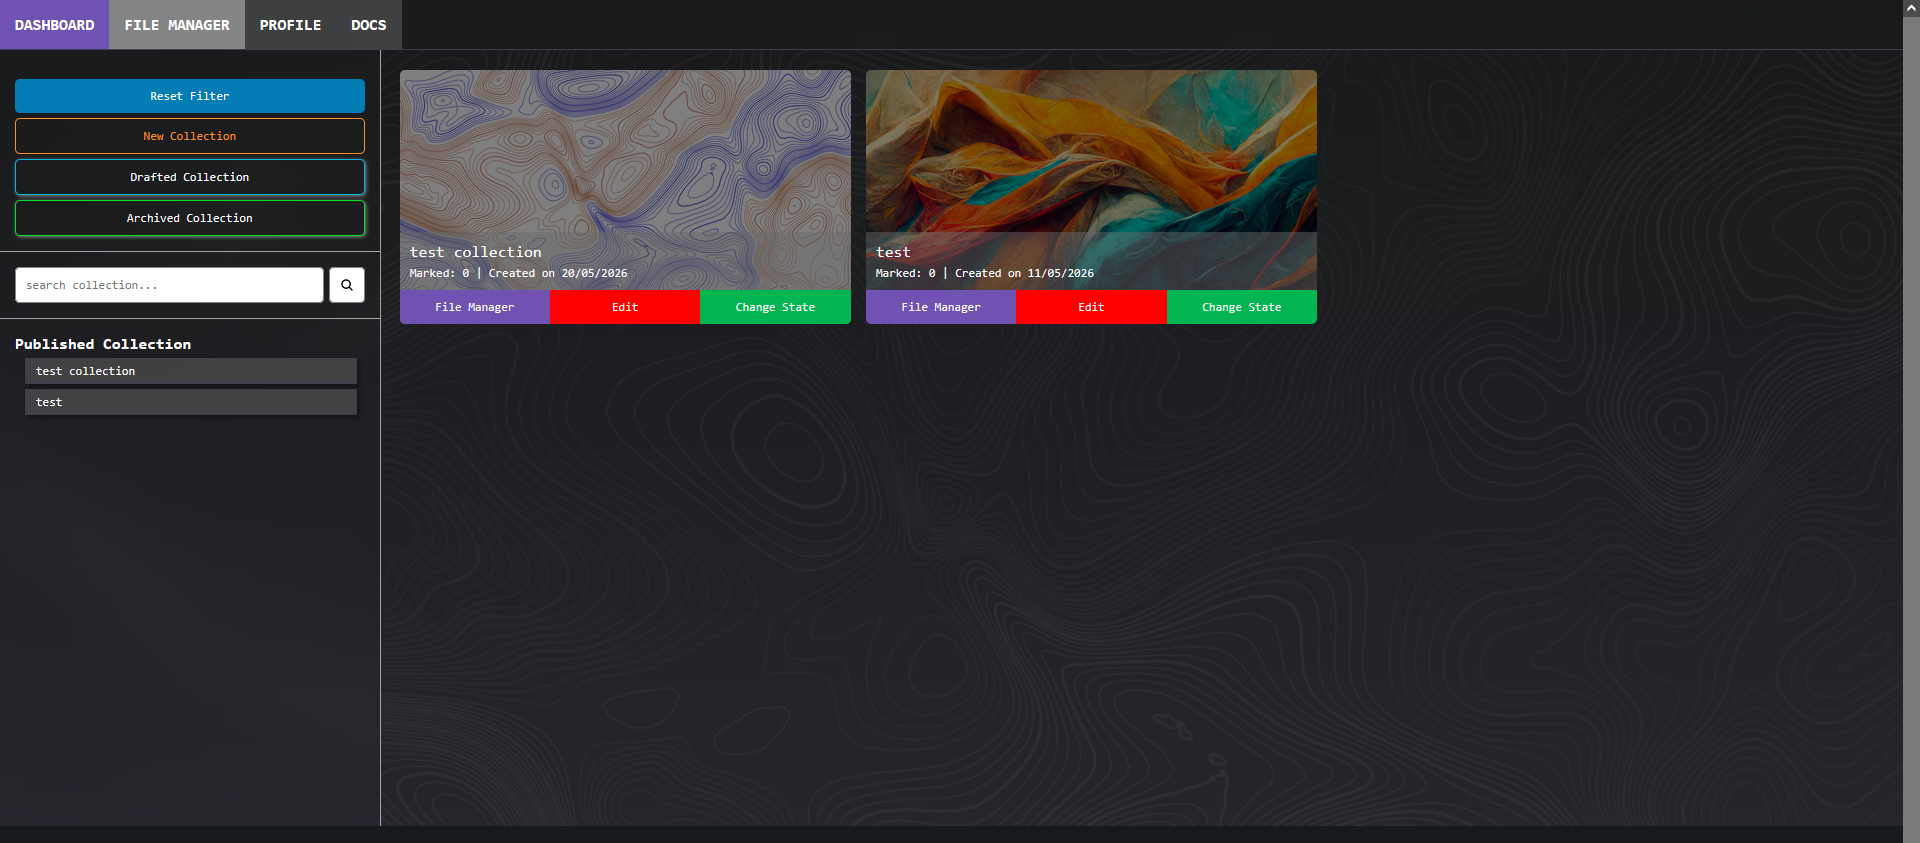
The "New Collection" button opens a creation dialog. Required inputs include logo, banners, title, description, developement status, repository with separate links for mapping readmes manually, and external links.
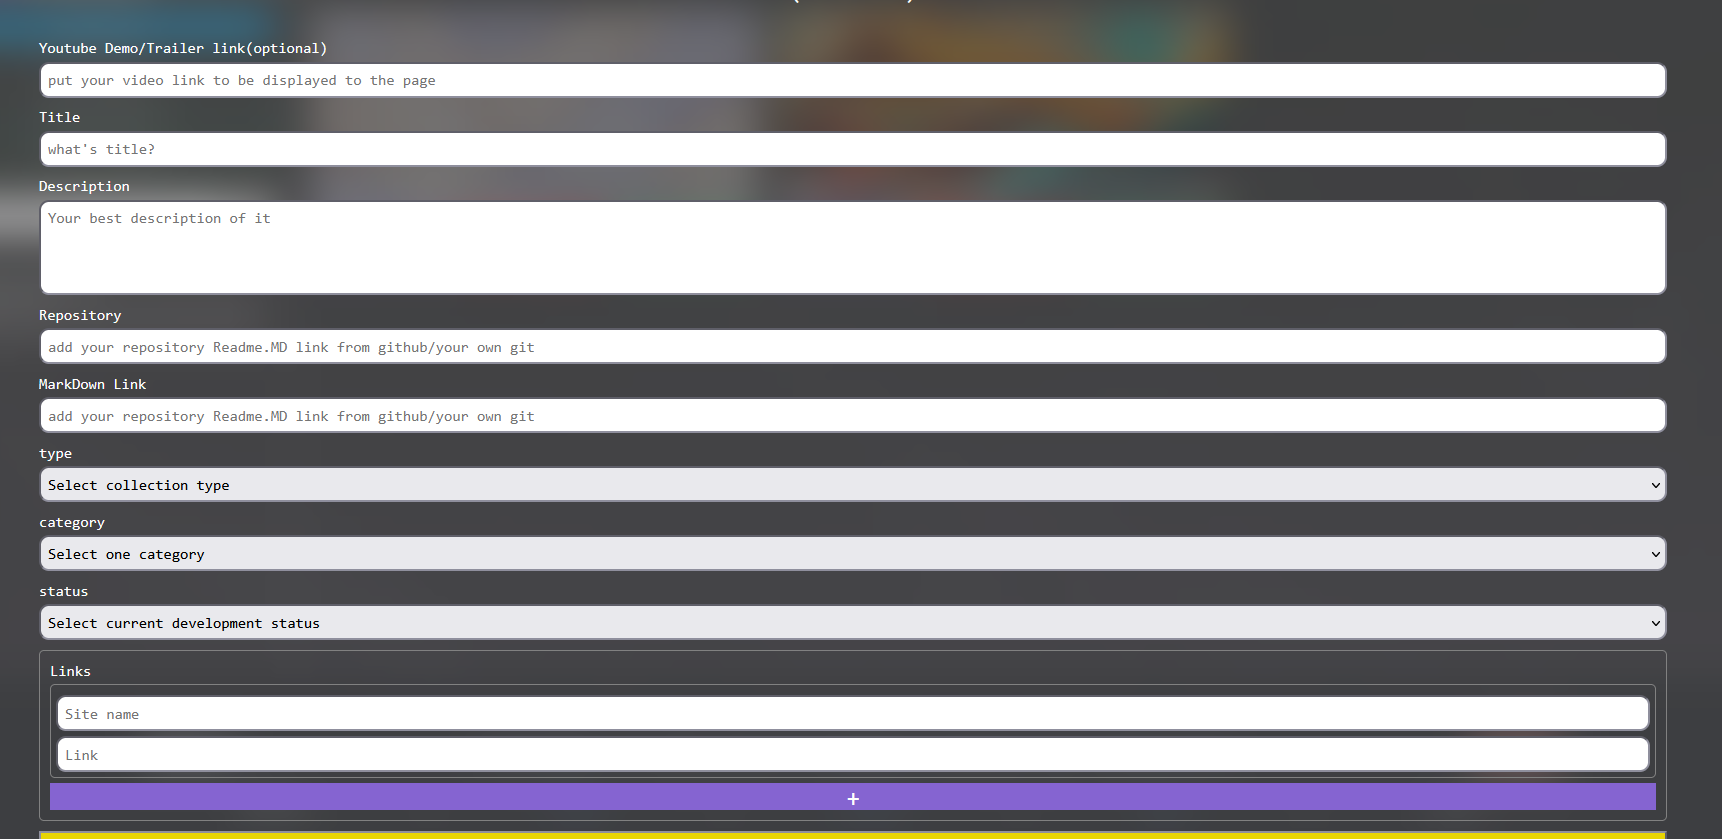
Trailer link are for displaying your collection video demo/trailer on the view pages, be aware that currently it's only tested with link for Youtube video embedding format.
Filled out external link "name" and "link" will be displayed your collection view page, up to ten link can exist in one collection.
After successfully created the new collection is saved and visible as "draft" collection, to publish or archive the collection click "change state" button and the two option will be visible. Note that collection software file must uploaded before changing the state to "Publics".
Collections with "Archived" state will require you to draft it first before it can be published.
Publishing a collection will require you set an active file to be downloaded, If needed you can disable download with the option available on collection edit form
File Management
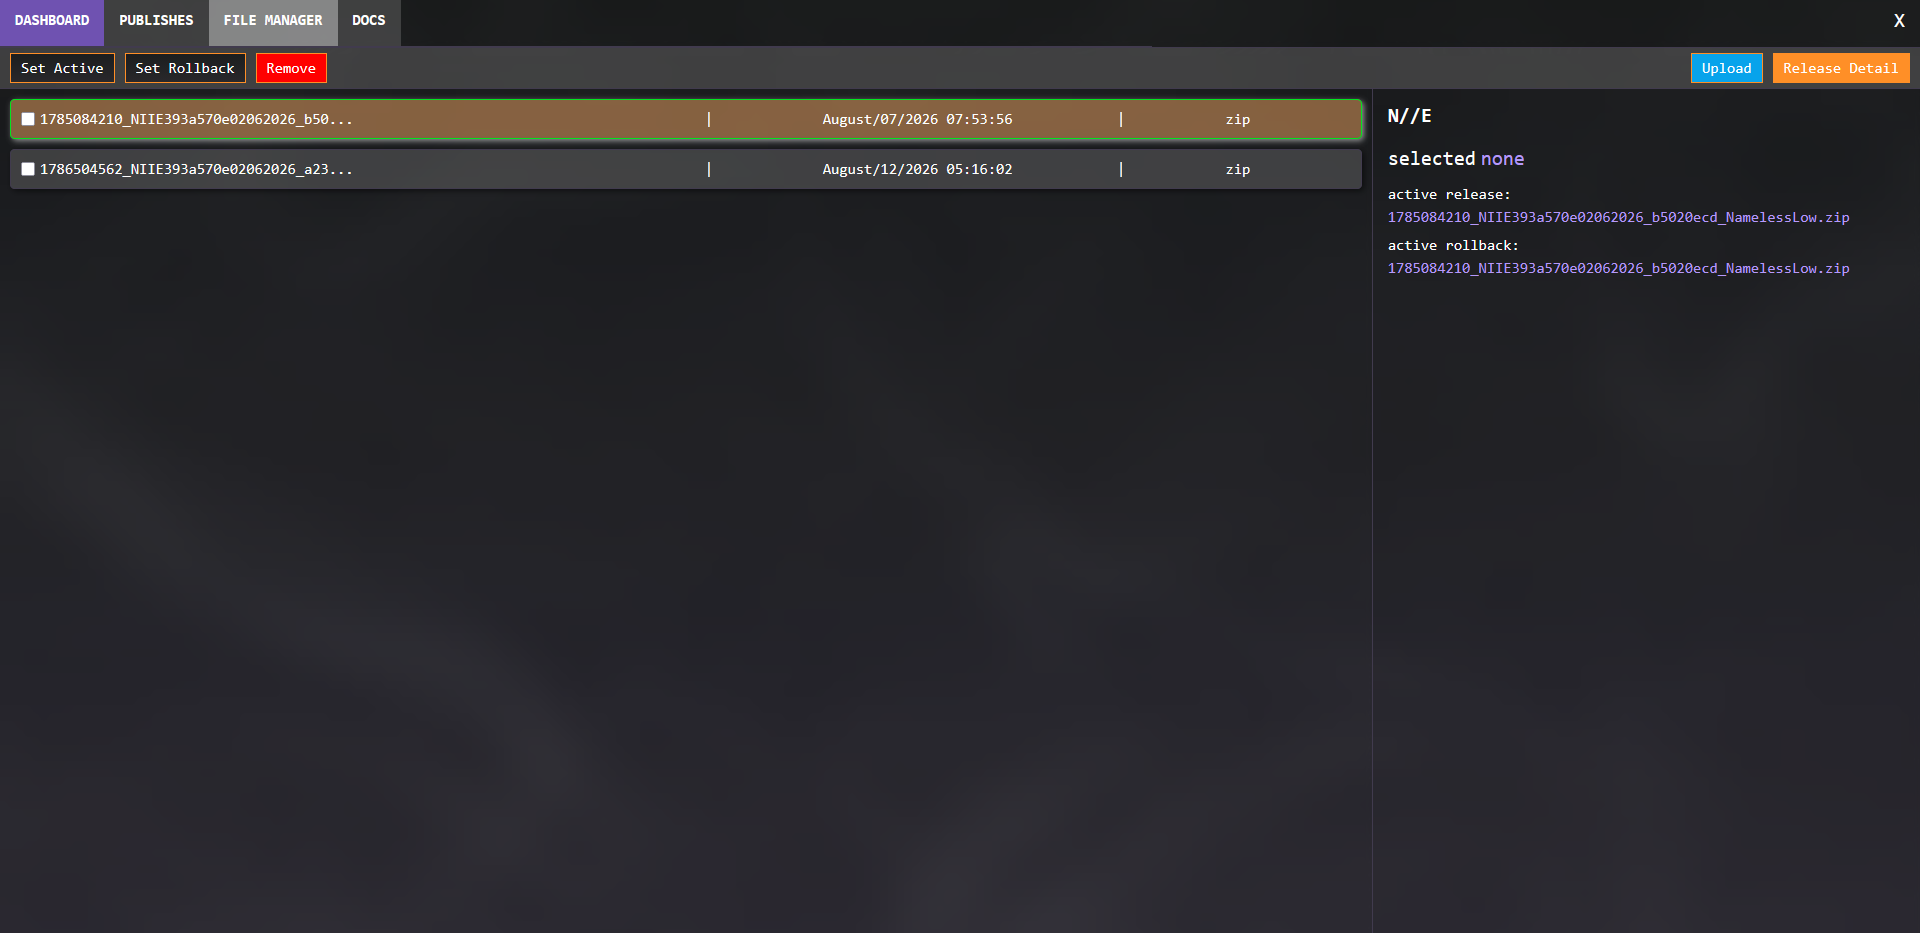
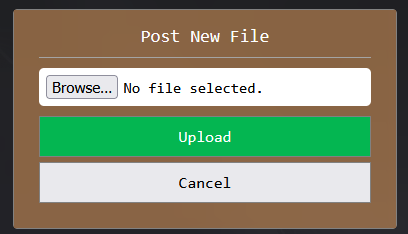
Open file manager for the collection that the software wanted to be uploaded, click on "upload" button on the top right and it will shows upload form like below.
After uploading the files will automaticatlly set as active to the collection, the current files used by the collection will be marked by a green border.

setting another existing file to be the "active" collection file can be done via selecting the file and click on "set active" button. the same goes for removing another file with the note that file must not be currently used by any of your collection.
Badges Creation & Management
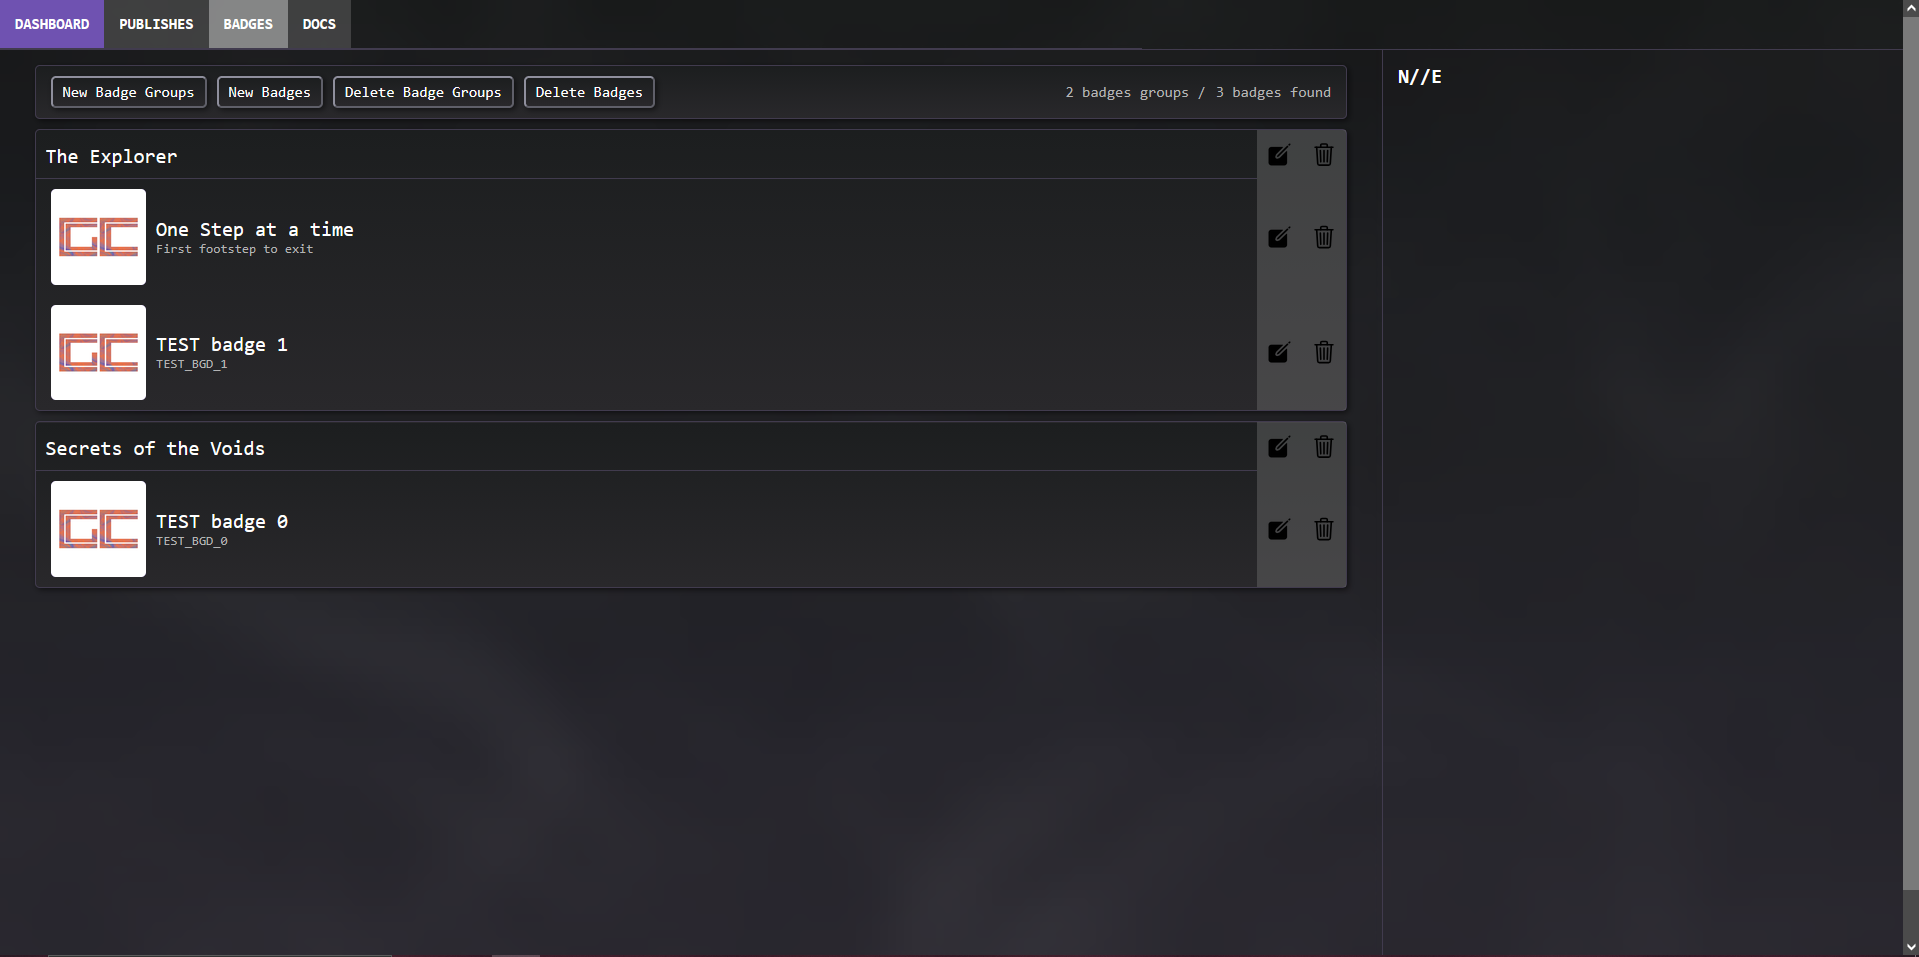
To open the badges manager is the same as Opening file manager, select the collection that wanted to be managed and it will shown UI like above.
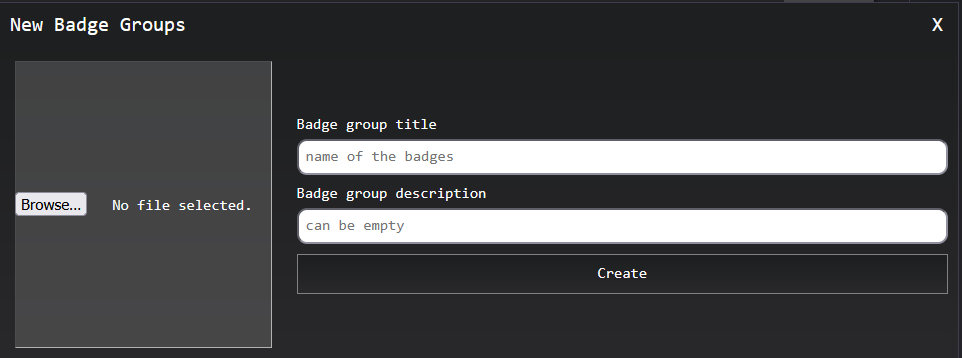
If no badges-group exist for the collection click on "New badge groups" to open dialog like below, fill the input accordingly and click create when done
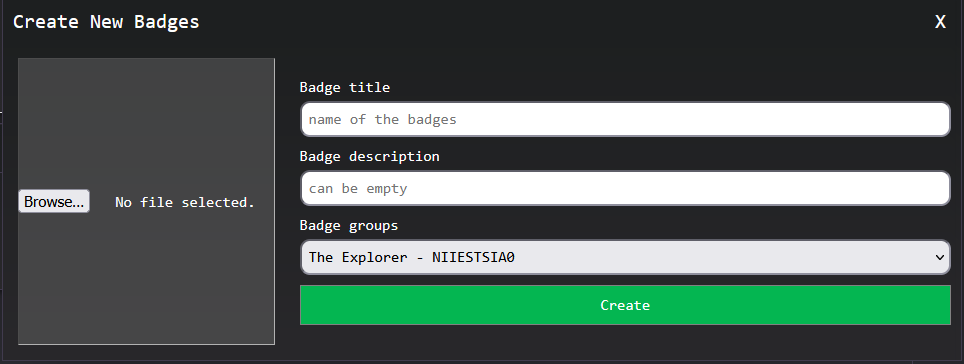
When creation succeed the badges group will show up on the badge groups selection input and select badge groups created when creating the new badges.
Community Management
Each collection given dedicated topics accessible to the groups administrator/founder, below nav bar are the option to post new annoucement, changing title and description of the topic.